Syed Naimath 8 years ago
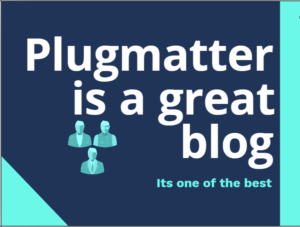
A blog without visual components is a textbook.
A textbook with confusing, long, gray text.
The truth is, visual components add to the aesthetic appeal of a website and make it interesting for the web users to browse it.
Who likes to read just plain text? Indeed, no one!
And, creating and adding graphics on your WordPress blog can make your visitors stay more on your website.
Having said that, adding graphics is often a tedious, difficult and hectic task for a majority of bloggers, especially if they do not have any designing experience.
In fact, many new bloggers freak out when they are advised to hire a professional graphic designer because of the cost and time it consumes.
But wait… why use graphics?
A picture really is worth a thousand words.
Graphics have the power to capture the attention of people, communicate with them, persuade them, and eventually improve your chances of better conversion.
If the fact of having a visually appealing website for the sake of grabbing attention isn’t enough, you might at least be interested in doing it for search engines.
Images play a crucial role in improving your website’s search engine rankings too.
Studies and surveys have proven time and again that blogs with images drive significantly more shares than sites without images.
So what should you do? How do you intend to keep up with the ever-growing competition? Should you use copyrighted images?!
No, there are far better options.
Well, webmasters who are not into graphic designing usually wind up using copyrighted images downloaded from Google Images. This certainly seems like the easiest way of adding images to your website. But this is not the best solution – especially if you are pretty serious about website’s appearance.
So what do you if you want great graphics for your website? Well, you create them.
Simple!
Today, I am going to share the best way to create graphics for your WordPress website. Here’s the list of the best solutions available in the market for non-designer webmasters.
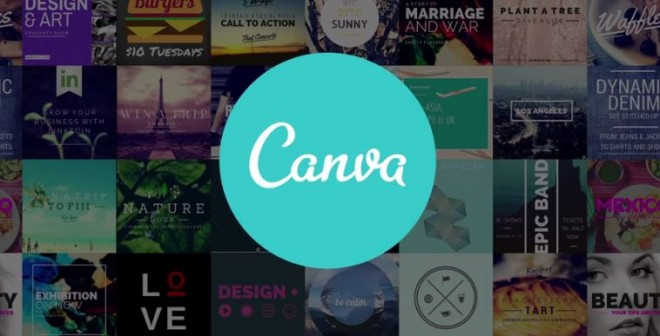
Canva is an open-source designing tool developed for non-designers to help them create images for their websites.
To use this tool, you do not need any technical knowledge or designing experience. It is a drag-and-drop software where all you need to know is how to drag and drop elements. And it helps you create every type of graphic.
Canva, in fact, can be thought of as a much simpler version of Photoshop, for non-designers.
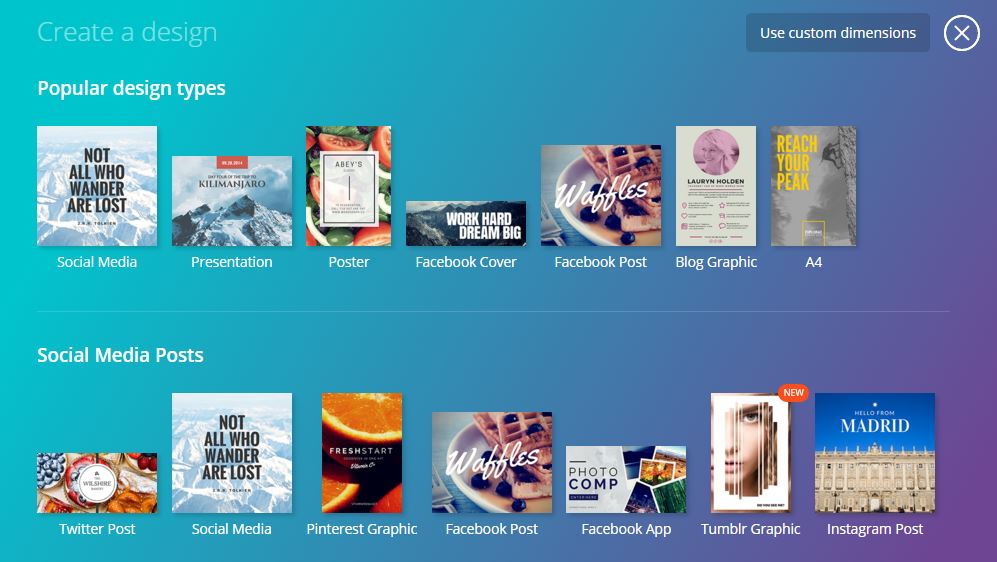
If you are running a WordPress website, using Canva tool is a lot easier since there is a free Canva WordPress plugin available in the market.
Just like any other WordPress plugin, you also need to download a dedicated “button” plugin,, and you’re all set to create amazing graphics for your website in no time.
Let’s see how:
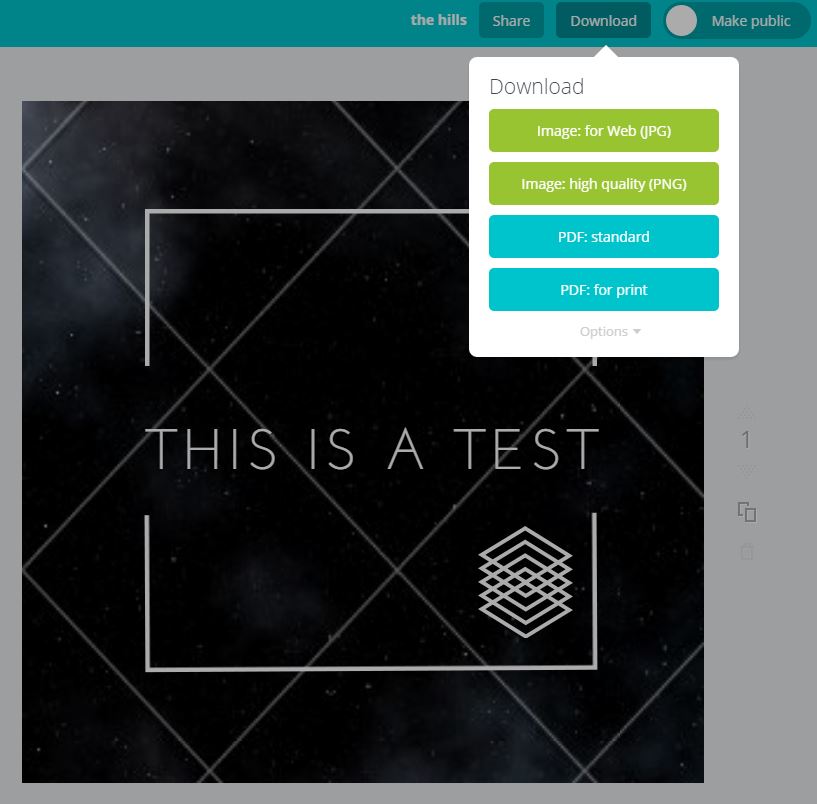
First, you need to install Canva plugin to your WordPress website. The plugin is absolutely free of cost and can be easily downloaded from WordPress.org.
Or, the same can be done from the web version Canva.com
Once you’ve installed and activated the plugin, you will notice a new button added in Posts and Pages, right next to the Add Media button – named Design in Canva.
When you add or edit a post, you can click on the Design in Canva button and start designing.
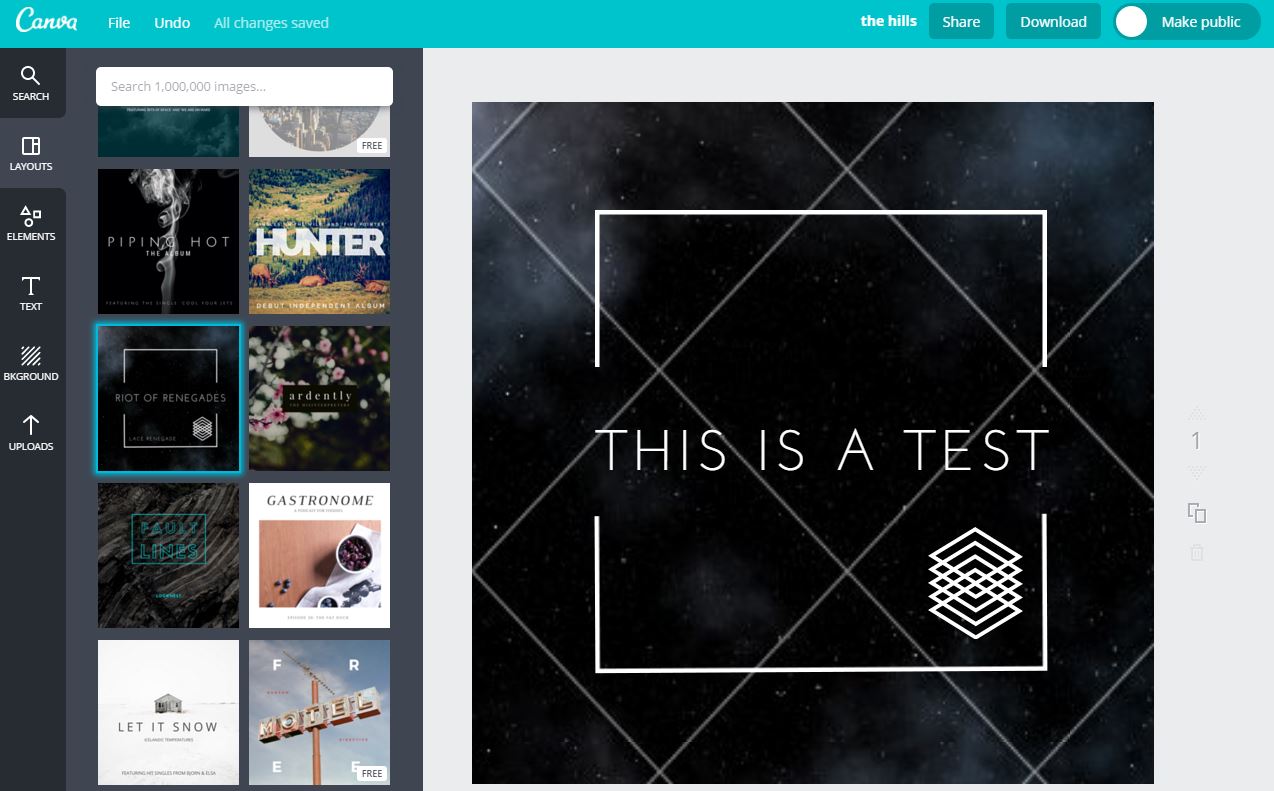
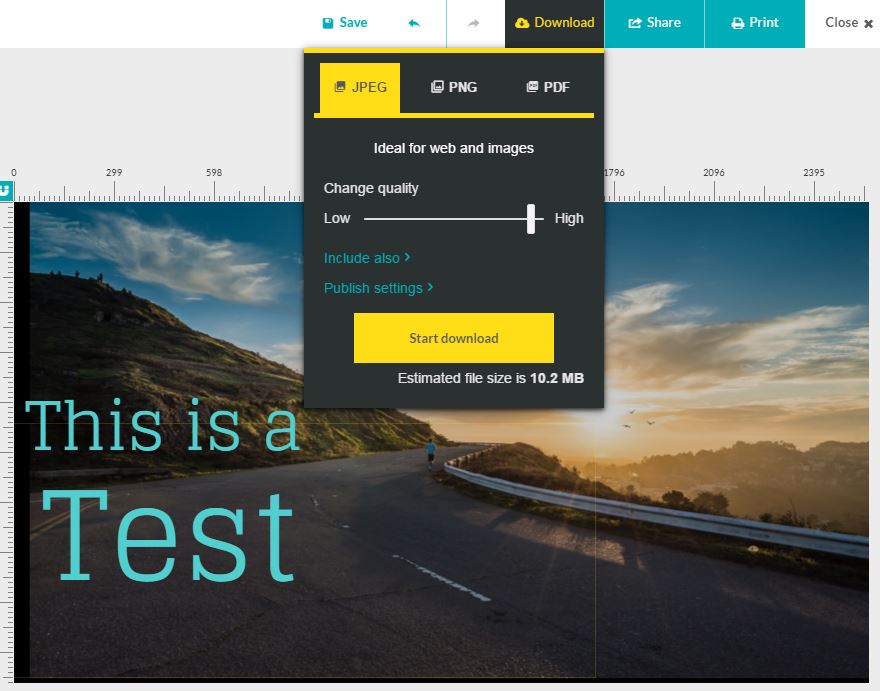
After completing the design of your graphic, you can hit the Publish button to insert the image into your post or page or download for the price of $1.
Remember the last time when you were too working hard on your logo to get it right, and the outcome was mile off from what you wanted?
Variables like color, size, font, style etc. all constitute great design.
So what to do when you are not a Photoshop expert?
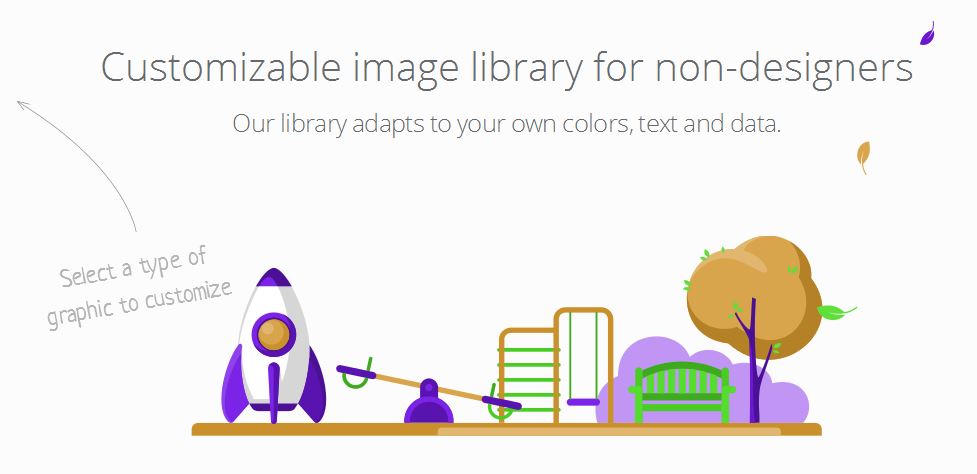
Illustrio is your answer.
It’s a simple online tool for designers with a pre-defined library of useful-illustrations for your blog or presentation which can be customized and used by anyone for free!
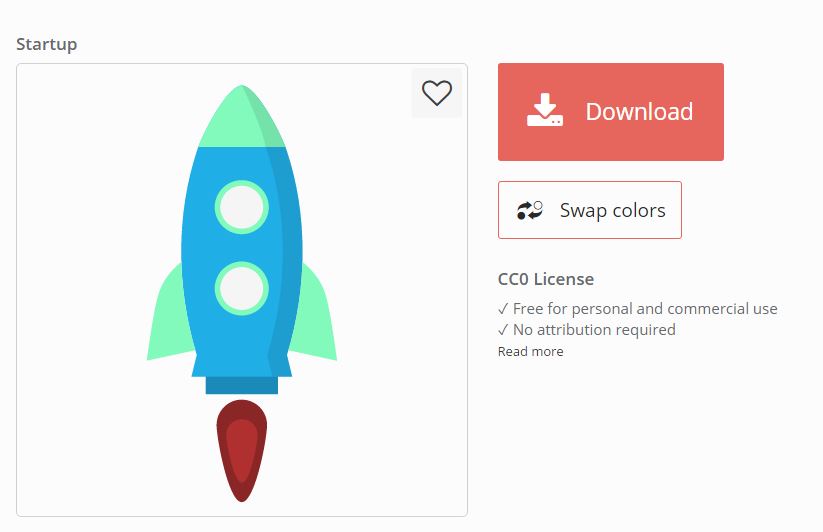
Swapping design colors is a great tool that comes in handy to experiment your design. You don’t even have to select the area and fill it, to do so. A single click would do.
Here’s how it works:
No installation is required.
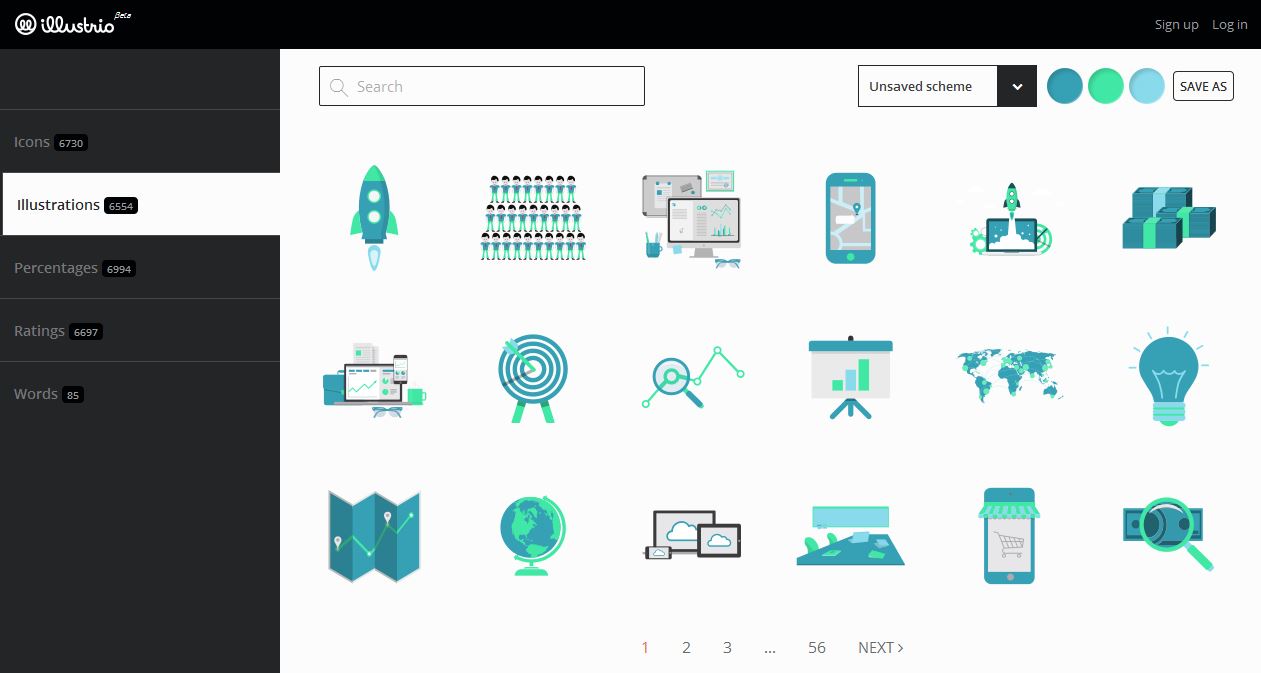
Yes, that’s right. You can directly go to Illustrio’s homepage, which will open the editor with a list of many collections – of icons, illustrations, percentages, ratings, words – each containing thousands of pre-defined designs.
Pick your collection of interest and select a predefined design that you like. Click on it for further customization. This will open the image in clear, larger view and also enabling you to swap colors.
Once your design is complete, signup and login if you haven’t. After logging in, the design will be ready to be downloaded for free, and can be used for personal and commercial purposes – with no author/creator attribution.
You probably aren’t the only user of that free “designer” theme.
What if you could make one on your own?
It’s not as difficult as it seems. Just a little effort and you can have an appealing theme for your blog.
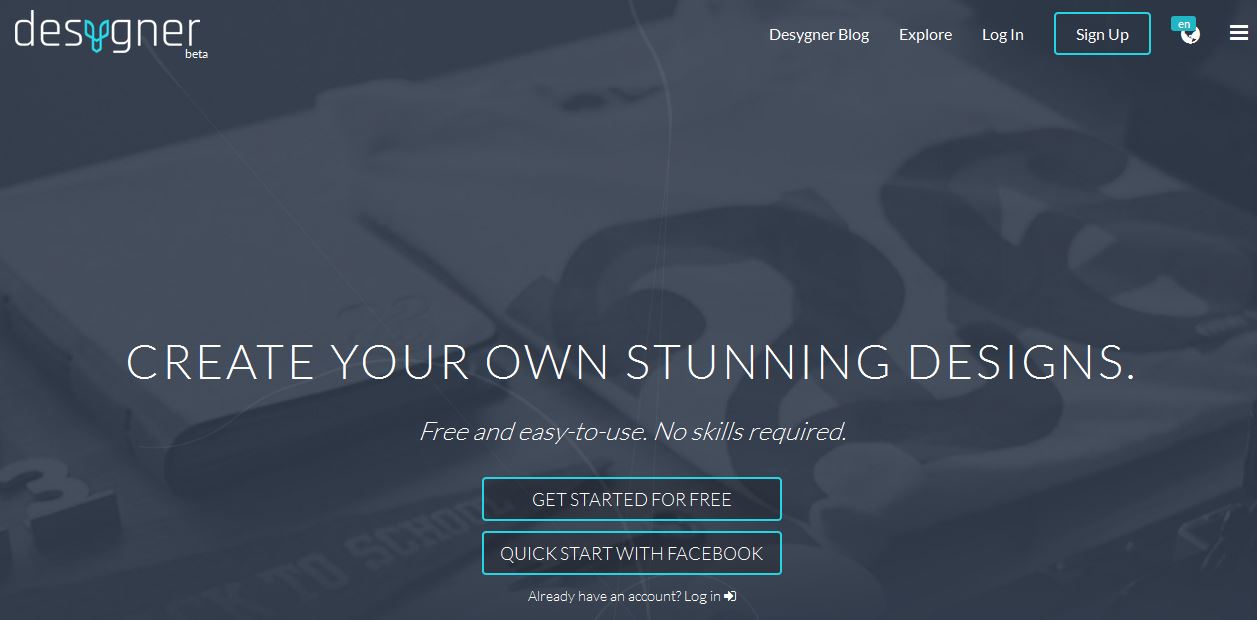
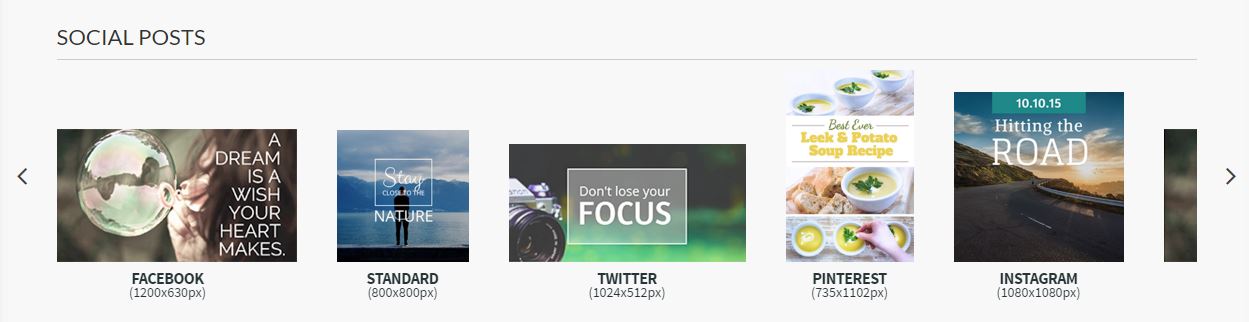
Desynger comes with a wide range of popular banners that could be used for Instagram, Facebook, Pinterest etc. You can select them accordingly and start designing.
From web adverts to social headers, Desynger has a solution for all your needs.
You just have to upload the image, or select one from the existing collection. These come with a lot of in-image styles like check borders, polygon art etc which are customizable.
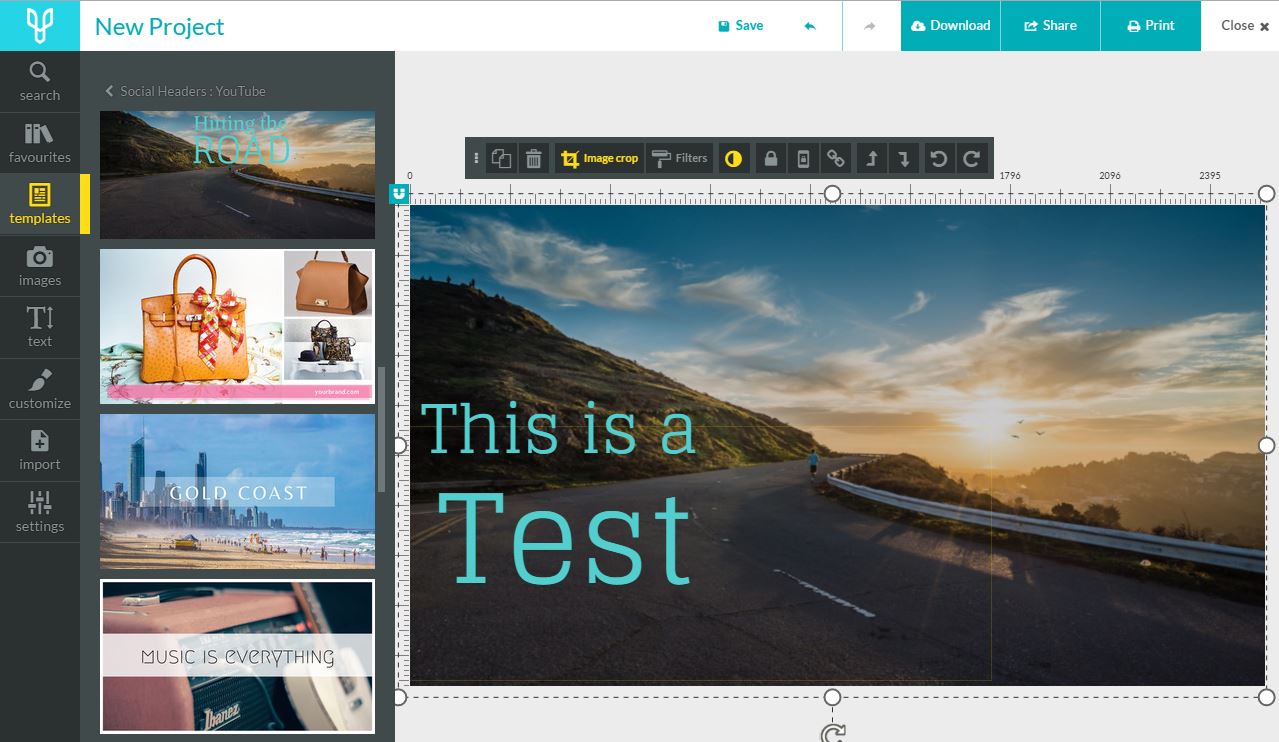
Sign up for an account on Desygner’s website, and start exploring. Click on My Projects, and start one of your own by selecting a banner from the list of social posts, web adverts etc.
After clicking on your desired layout, you’ll be taken to the editor. You can add image backgrounds from templates.
Once your design is added, it can be fully customized – images can be cropped, filtered, have their opacity altered etc.

The completed design can be downloaded in various formats including jpg, png and pdf. You can also share it directly on social media, or even print it.
Pikiz is a tool that allows anyone to easily create and share viral images, from anywhere on the web. With Pikiz, you can customize images or texts directly from where you find them on the web, or upload them from your device.
For a newbie designer, this is easy as it gets. Pikiz is the simplest and quickest online design tool to create images. It’s very easy to use.
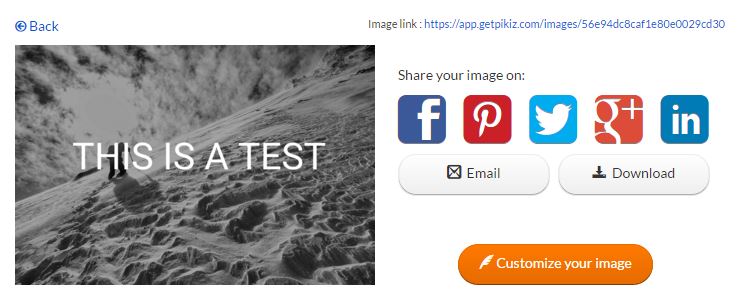
Just like Desynger, you can directly choose banners for Facebook and Twitter, without worrying about the resolution. You can quickly save and share it on your social profiles.
Sign up on Pikiz’s homepage. Click on Create at the top-left corner, to open the editor and start working.
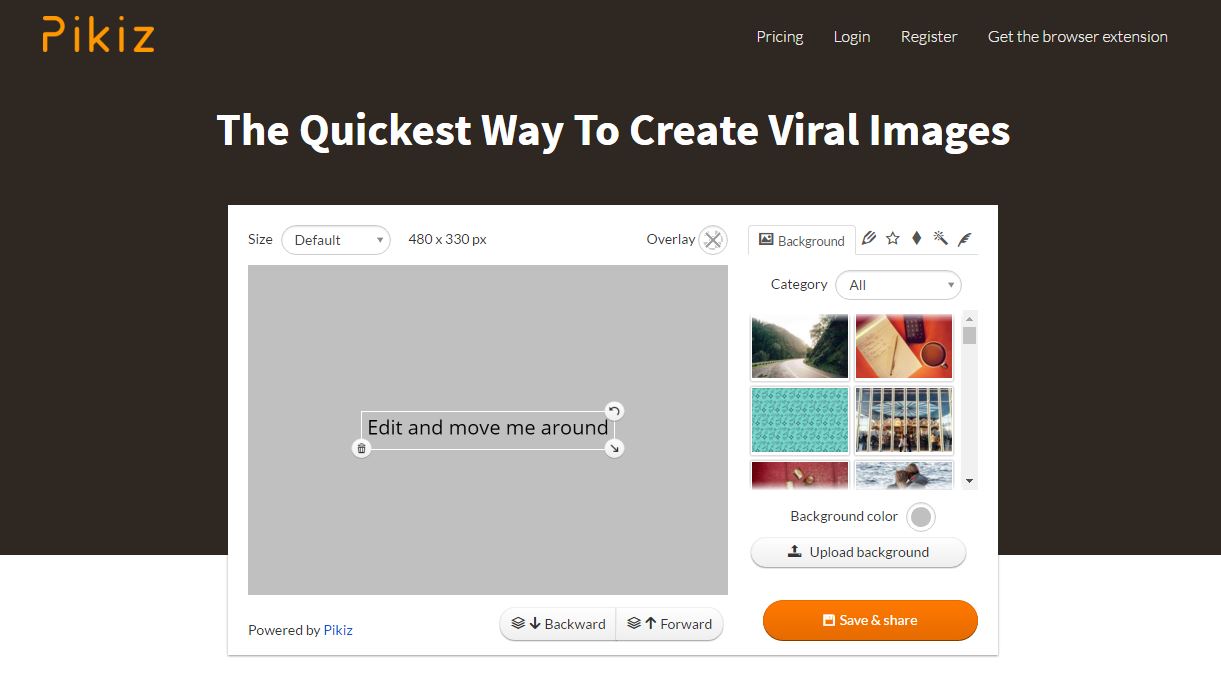
Add a background image to your work space from their collections on the editor menu. Images are categorized under Abstract, Architecture, Nature, People etc.
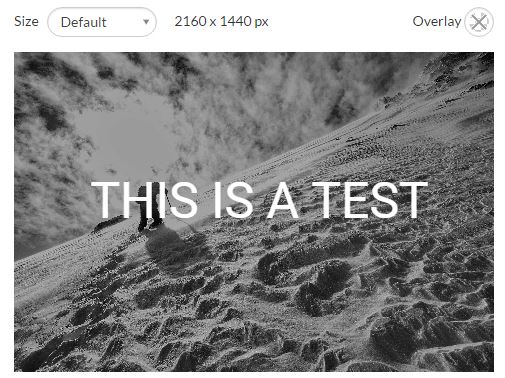 

Captions can be added. You can change font style, alignment, color. Customized text layouts and over 200 fonts can make your message appealing. Use filters and overlays to personalize images.
And that’s our list of online tools to ease your designing efforts.
There’s a lot more to designing than just this. However, this could be your start at becoming an expert designer.
Let us know about the design tools that you use, and comment below if we have missed out on great stuff!
Design Wizard will take the time and effort out of creating visual content. The website boasts thousands of templates and over 1 million images that can be personalised for your needs.
The website assists people in achieving their goals through visual content. This will give you the confidence to produce professional standard images that will capture the audience’s attention, impress their followers and build a brand.
Design Wizard is unique in the approach it takes to its content and the simple pricing and licensing plans. They aim to make design accessible for all, and this is why they offer all features and integrations free to every user.
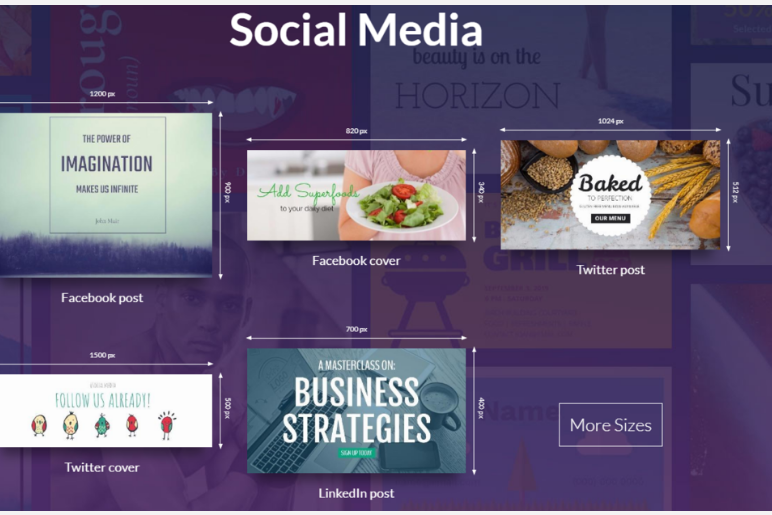
First you need to pick your canvas size. You can choose between a wide variety of sizes, including Facebook post, Facebook cover, Twitter post, LinkedIn post, Instagram image or YouTube cover.
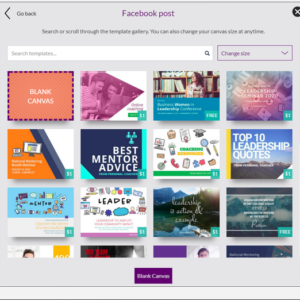
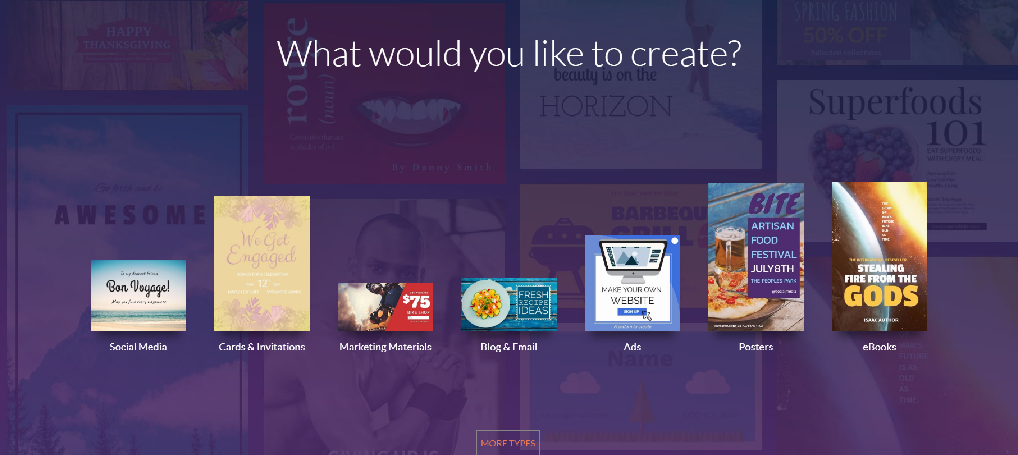
It is not just social media templates you can choose from. Design Wizard has a database of canvases for marketing materials, banners, logos, cards, invitations, ads, posters or eBooks.
Then you can search from the thousands of templates on the website to see what best suits your needs.
You can add and edit your own information to the template by double clicking on the item. You can upload images such as a company logo or edit text.
You can then share your image directly to social media. Click on the save button; this saves your work in to the My Design Wizard section where you can then share your image directly to Facebook using the share button. This allows your customers to see the image straight away.
This is a guest contribution by Emma Watson. She is a WordPress Developer by profession and loves writing. She works for Wordsuccor Ltd., a WordPress Development company providing WordPress theme customization services to global clients.
Get weekly actionable tips, insights and case studies to maximize your results.